As an Amazon Associate, we earn from qualifying purchases. Some links on this site are affiliate links at no extra cost to you. Our recommendations are based on thorough research and editorial judgment.

How To Make A Simple Line Release Diy
To create a simple line release mechanism for fishing, gather materials like over grip tape, screws, and a suitable fishing line. Start by drilling a precise 5/16″ hole in your speargun. Insert a tab into the release slot, guaranteeing a washer is under it for reduced friction. Adjust the torsion spring to create ideal tension. Testing is essential—measure leaks and calibrate as needed. With these tips, anglers can guarantee smoother line releases—perfect for those exciting fishing trips ahead!
Key Takeaways
- Drill a precise 5/16″ hole in your speargun body for the line release mechanism installation.
- Insert a tab into the release slot and secure it with a screw and washer to minimize friction.
- Adjust the torsion spring’s tension for optimal line release, ensuring correct preload using the sleeve’s slit.
- Attach your chosen fishing line to the tab, ensuring it is taut for effective performance during use.
- Test the setup rigorously, including leak detection and line tightness, to ensure reliability in various conditions.
Materials Required for Your DIY Project
Additionally, grip materials like over grip tape enhance comfort, while rubber tape provides traction. A few screws and washers complete the assembly. Careful choice of fishing line, ranging from mono to braid, guarantees the DIY device performs effectively — after all, the devil’s in the details! This ensures that your line release mechanism remains reliable during fishing trips, especially when using boats with high bait capacity.
Recommended Products

Premium Quality Materials : BRIS Pro BFA 450 come with MARINE PLYWOOD TRANSOM and it is made by 2,000 Dtex 1.2mm PVC fabric with polyester support, having excellent resistance to tearing, tension and breaking . It is a much more heavy-duty PVC fabric than 1100 Dtex 0.9mm PVC boats .

Ideal for Fastening in Close Quarters

Includes 24" stainless steel boom and universal mounting base for the downrigger. The power port creates a flush appearance to hide wires on boat deck.
Step-by-Step Assembly Process

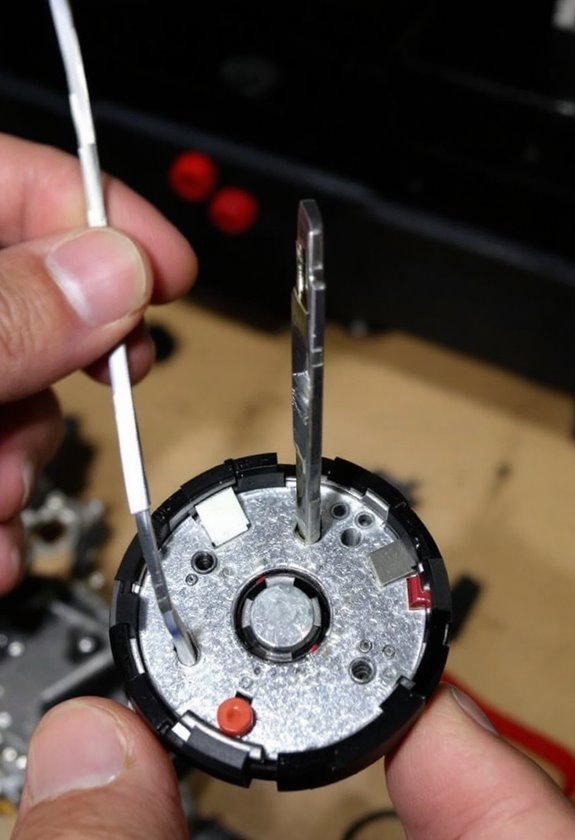
With all the necessary materials gathered, the process of assembling the line release begins. Initiate by drilling a precise 5/16″ hole in the speargun body down to the line release slot, ensuring smooth edges to avoid any line abrasion. Next, create a pilot hole for the securing screw; clean up any metal shavings to prevent interference.
Insert the tab into the release slot, placing a washer beneath to minimize friction. Position the sleeve over the tab, adjusting the torsion spring’s ends for tension. Preload the spring using the sleeve’s slit before partially inserting the screw. Finally, securely attach the shooting line to the tab, maintaining tautness for ideal line release during speargun maintenance. Incorporating a reliable waterproof feature not only protects the mechanism but also enhances durability during use.
Recommended Products

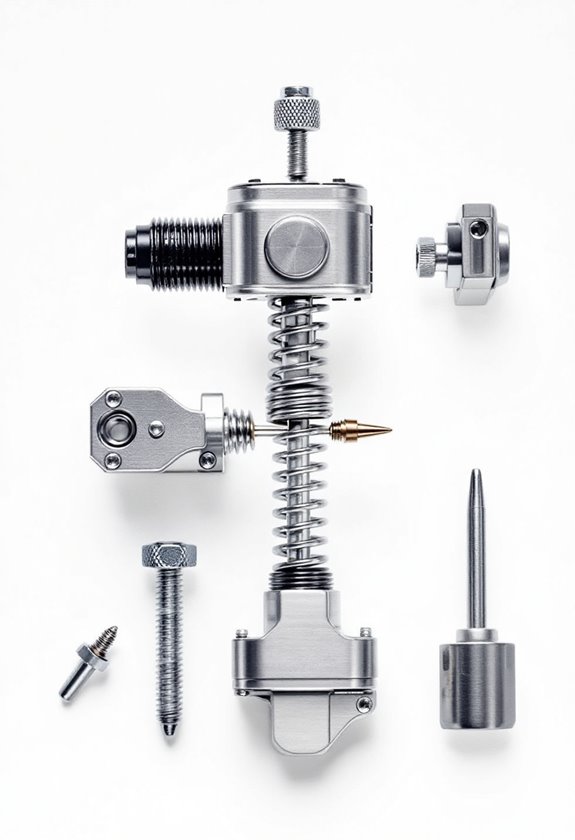
Innovative muzzle.

Choose lengths 50' - 125' in Blue or Yellow Jacket

Integrating the Spring and Tab
Integrating the spring and tab is a delicate dance of mechanics that holds the key to a reliable line release system. This integration hinges on understanding spring preload and elastic coupling—where the spring’s stiffness directly influences both the tab’s movement and the control surface.
- Elastic Coupling Dynamics: Harnessing the spring’s force can induce movement, helping release the line when needed. Additionally, proper design features like gyroscope stabilization ensure that the release occurs smoothly, particularly in choppy waters.
- Balancing Act: The challenge is in ensuring the spring and tab work harmoniously without causing flutter or unwarranted motions.
Recommended Products

Air bag suspensions system uses a system of inflatable air bags filled with compressed air to suspend the vehicle off the ground. Air Compressors provide air to the integral components of your vehicle’s air ride suspension, keeping air springs and air shocks inflated to a necessary height based on your carrying load, towing and passengers. A properly working air suspension will keep your vehicle’s ride a smoother, more enjoyable one, and help with vehicle stability, braking and fuel economy.

Superior Performance: Sandvik 12C27 blade steel for excellent edge retention

Complete 38-Piece Automotive Service Kit Includes 12 specialty pliers and clamps for fuel line, hose clamp, hose removal, relay, panel clip, and electrical connector work, plus trim tools, hose hooks, screwdrivers, an 18-piece terminal pin removal set, and a hard toolbox for organized storage.
Testing and Making Adjustments
Testing and making adjustments in a simple line release DIY project is like fine-tuning a musical instrument—it requires precision, patience, and a keen ear for how all components work together. To guarantee effective leak detection, begin by establishing baseline measurements:
- Measure initial product levels accurately, controlling temperature to prevent volume fluctuations.
- Conduct line tightness tests capable of detecting leaks as small as 0.1 gallons per hour.
When discrepancies arise, don’t hesitate to make test adjustments:
- Calibrate equipment for precision, and modify conditions if environmental factors skew results.
- Refill tanks to maintain testing integrity, and replace faulty sensors to avoid false readings. Additionally, ensure that the build quality of your DIY mechanism is robust enough, similar to the durability of competition RC speed boats, to withstand various conditions.
These steps not only help detect leaks but also guarantee the reliability of the DIY release mechanism.
Alternative Line Release Concepts

In considering alternative line release concepts, one finds a fascinating interplay of innovation and practicality that can significantly enhance both safety and efficiency aboard a vessel.
Low Friction Rings
These lightweight aluminum rings, with smooth anodized surfaces, minimize friction for smooth line release. When combined with HMPE cordage, they offer a user-friendly solution for rigging.
Cockpit Routing
Redirecting lines to the cockpit centralizes management—ideal for solo sailors. Strategic turning blocks make this possible.
Quick-Release Tethers
Safety is paramount. Employing quick-release tether systems mitigates fall risks, especially in precarious areas. Utilizing waterproof features can also help safeguard the system from unexpected splashes.
Coiling Techniques
Avoiding traditional coiling prevents kinks and jams—think of it like keeping your earbuds untangled!
Recommended Products
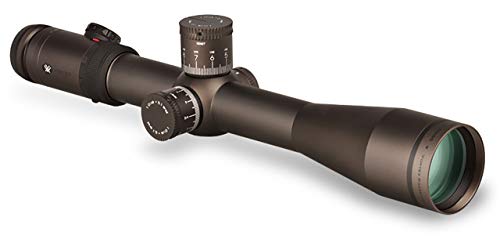
The Razor HD 5-20x50 riflescope is built to handle long-range situations.
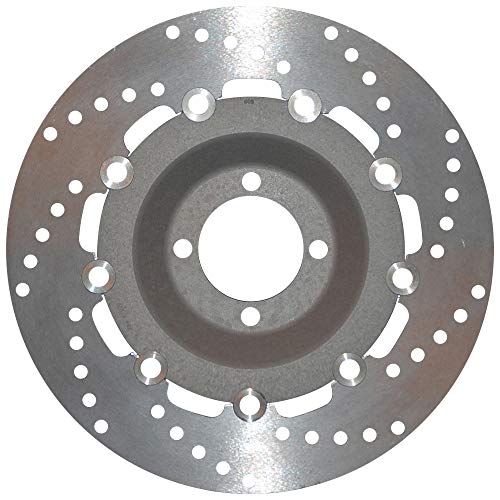
Ebc pro-lite rotors are complete bolt-on and go rotor assemblies made with forged aluminum center hubs, high friction billet steel rotor rings and sturdy riveted construction.

Solid HPSR rotor programs are low carbon steel units zinc plated to minimize corrosion
Frequently Asked Questions
What Tools Are Absolutely Necessary for This DIY Project?
What tools are essential for a successful DIY project? A thorough tools checklist includes a sharp knife, crimping tool, drill, and measuring equipment—fundamental to assembling effective and safe line release mechanisms for any fishing enthusiast.
How Much Time Will This Project Take to Complete?
The project duration for completing the DIY task is typically estimated at 2 to 5 hours. Factors such as skill level, access to resources, and task organization can influence the estimated completion time considerably.
Can This Design Work With Different Rod Sizes?
The design can adapt to various rod sizes, embodying compatibility considerations and requiring thoughtful design modifications. Imagining a versatile tool, it seamlessly adjusts, balancing tension and strength to meet different fishing needs, maximizing efficiency.
Are There Safety Precautions to Consider During Assembly?
Safety precautions during assembly include wearing appropriate safety gear and maintaining careful tool handling. Personnel should be trained in safety protocols to minimize risks while ensuring equipment is properly maintained for effective and safe operation.
Where Can I Find Replacement Parts if Needed?
Replacement part vendors can be found online, including specialized auto parts retailers and online fishing marketplaces. These sources often provide a range of components to address various needs for line release repairs.


