As an Amazon Associate, we earn from qualifying purchases. Some links on this site are affiliate links at no extra cost to you. Our recommendations are based on thorough research and editorial judgment.

Replacing Shafts and Couplers: Step-by-Step
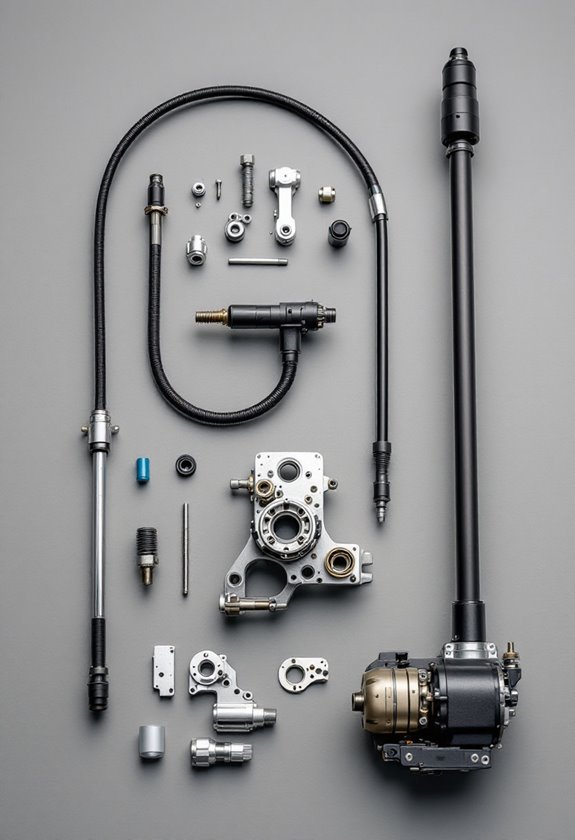
Replacing shafts and couplers involves several critical steps to guarantee flawless machinery operation. Begin with proper tools—calibrated torque wrenches and mechanical pullers work wonders. Safety comes first: disconnect power sources and wear PPE. Next, inspect parts for wear. Remove couplers carefully, applying penetrating oil if necessary. If shafts show damage, repair them using NDT and epoxy materials. Installing new parts requires precise alignment—think of it as threading a needle! Curious about maintenance tips to keep everything running smoothly?
Key Takeaways
- Begin with a thorough inspection and risk assessment, ensuring machinery is powered down and safe before starting any work.
- Carefully remove couplers and shafts using appropriate tools, taking care to mark positions for accurate reassembly.
- Address any shaft wear with non-destructive testing and consider cold-applied repairs if necessary before replacing components.
- Install new shafts and couplers, ensuring proper alignment and using calibrated torque wrenches for secure fastening.
- Conduct final verification checks, including alignment tests and regular maintenance, to ensure long-term functionality and efficiency.
Tools and Equipment Preparation
When preparing for the replacement of shafts and couplers, it is crucial to harness the right tools and equipment for the task—after all, a well-equipped technician works more efficiently and safely. Tool selection begins with calibrated torque wrenches to tighten fasteners to manufacturer specifications. Technicians should employ specialized pullers to safely detach couplers without damaging the shafts. Additionally, appropriate heat sources, like induction heaters, can help expand hubs for easier installation.
Equipment assessment is equally important. Inspect coupling assemblies for damage and verify that set screws and hardware are in good condition. Confirm compatibility between replacement parts and machine specifications to avoid costly mistakes. A well-organized workspace, complete with precise measuring tools and clean surfaces, sets the stage for a successful replacement process. Selecting propellers based on specific model compatibility ensures optimal performance and efficiency during operations.
Recommended Products


Keep your torque setting in between uses. Split-beam torque wrench doesn't require setting torque back to zero to maintain accuracy when not in use. Save time by leaving your most frequently used torque setting in between uses

Torque accuracy of +/- 3% CW between 20% and 100% of wrench capability
Safety Procedures

Powering through the intricate task of replacing shafts and couplers requires not just the right tools but also a solid foundation of safety procedures to keep everyone involved safe and sound. First and foremost, disconnect all power sources—unexpected machinery starts can be like a surprise party no one wants.
Key Safety Practices:
- Safety Training: Regular training guarantees everyone is aware of hazards.
- Risk Assessment: Evaluate the environment to identify potential dangers.
Always wear proper Personal Protective Equipment (PPE) like gloves, goggles, and steel-toed boots. Confirm that all components are stationary. Additionally, ensure that chargers are equipped with safety features to prevent accidents during the replacement process.
Initial Inspection
Initiating the initial inspection of shafts and couplers sets the foundation for a successful maintenance task, much like a pilot checking instruments before takeoff. This vital step begins with a thorough visual inspection:
- Examine set screws for correct torque and any signs of loosening.
- Inspect keys for wear; even a little slack can compromise coupling integrity.
- Check shaft surfaces for cracks or scoring—better safe than sorry!
Next, conduct lubrication checks to guarantee top-notch performance:
- Confirm lubricant levels in gear and grid-type couplings, avoiding unnecessary wear.
- Look at seals and gaskets—any leakage means trouble on the horizon! Additionally, high-performance motors can significantly enhance the overall power of your RC boat, reinforcing the importance of coupling integrity.
Removing Shafts and Couplers
Removing shafts and couplers requires a methodical approach to guarantee success and prevent any unnecessary damage. The process begins with locating and loosening fasteners, including setscrews and bolts, specific to various coupling types. Utilizing the right tools—like Allen wrenches—is essential for this delicate task.
Key Steps:
- Apply penetrating oil on rusted areas for 10-15 minutes.
- Use mechanical pullers for a gentle extraction, monitoring alignment.
- In dire situations, consider cutting the coupling—only as a last resort.
Marking the position of components guarantees swift reassembly, while patience and finesse reduce risks of damaging the shaft or surrounding parts. With attention to detail, this removal can shift from intimidating to manageable, sparking confidence for subsequent tasks. Additionally, understanding the importance of efficient cooling systems can enhance the longevity of your motor during use.
Repairing Worn Shafts

After successfully removing shafts and couplers, attention shifts to repairing worn shafts—an important task that can prolong equipment lifespan and save costs. Common wear occurs due to mechanical friction, corrosion, or vibration, leading to performance issues if not addressed quickly.
Recommended Products

6 pt Carbide Flail Cutter Complete Drum Kit for Edco CPM-8 Scarifier/Concrete Planer - General Setup
Complete Deluxe Bushed Drum Replacement Kit Designed for Edco CPM-8 Scarifier/Concrete Planer

Carbon Graphite Fiber – This sleek black 3K twill-weave fabric by Fibre Glast delivers ultimate tensile strength, lightweight performance and pro cosmetics. Great for watercraft, aircraft or auto-making. Use with epoxy-resin. 6 oz, 50 in x 108 in.

[Advanced Epoxy for Metal Repair] Restore worn, corroded, or damaged metal components with this high-performance epoxy composite. Perfect for metal repair and protection, no welding or high-temperature treatment required.
Repair Options
- Non-Destructive Testing (NDT) helps assess wear severity without damaging the shaft.
- Cold-applied repair techniques, like epoxy polymers, maintain original tolerances while avoiding the heat damage typical of welding. Additionally, ensuring high build quality of components can dramatically impact overall performance and longevity.
Application Insight
- Surface preparation is key—creating a rough profile guarantees strong adhesion.
- Quick cures—using controlled heat—allow for rapid return to service, minimizing downtime.
Cleaning and Degreasing
Cleaning and degreasing are essential steps in maintaining machinery, ensuring ideal performance while prolonging the equipment’s lifespan. Various degreasing techniques exist to tackle different challenges.
- Solvent-based methods are swift and powerful, tackling heavy grease but requiring careful handling due to environmental concerns.
- Water-based alternatives offer a safer option, utilizing biodegradable ingredients—ideal for eco-conscious operations—though they take longer to work.
- Vapour degreasing is another advanced option, employing heated solvents that penetrate tight spaces for spotless results.
While choosing a method, consider efficiency and safety—personal protective equipment (PPE) is crucial. With thorough cleaning, machinery can run smoother, just like how maintaining proper battery health can enhance the performance of RC boats—performance matters!
Applying Metal Repair Epoxy
Applying metal repair epoxy can considerably extend the lifespan of shafts and other metal components, transforming a potentially costly repair into an easy fix. This epoxy combines good mechanical strength with excellent adhesion techniques, ensuring a durable bond when applied to surfaces prepared meticulously.
Recommended Products

CRC INDUSTRIES: A market leader that offers impeccably designed chemical solutions to maintain, protect and repair different marine, heavy-duty motor vehicles, industrial-grade engines, household tools, and electrical equipment

[Belzona 1212] Surface Tolerant Epoxy Repair Composite. 450g one Kit, Two Parts Base A 205g + Solidifier B 245g. Used for emergency in-situ metal repair on oil-contaminated, wet, and underwater substrates. Rapid curing and excellent adhesion.

Key Steps in Application:
- Surface Prep: Clean all oils, dirt, and rust. A rough surface aids adhesion.
- Mixing: Follow manufacturer instructions for epoxy types; precision is essential.
- Application: Use a spatula or trowel to apply epoxy smoothly, building up to 12 mm if necessary.
Once applied, let it cure undisturbed to form a robust repair. A little patience now prevents future headaches—because who wants to keep fixing the same issues?
Machining and Finishing Repaired Shafts
Machining and finishing repaired shafts transforms a potentially weak link into a strong, reliable component, ready to take on demanding tasks.
Machining Processes:
- CNC turning shapes the shaft with exceptional precision.
- Grinding smooths surfaces to achieve tight tolerances, crucial for proper shaft alignment.
- CNC milling and broaching refine features if repairs affect slots or keyways.
Surface Treatments:
- Passivating stainless steel shafts enhances corrosion resistance.
- Anodizing is perfect for aluminum, adding both hardness and aesthetic appeal.
- Electroplating provides thin, protective metallic coatings, enhancing durability.
Regular monitoring during these processes guarantees quality and adherence to specifications. Each step is essential in crafting a shaft that not only performs efficiently but also endures the rigors of its environment—like a knight in shining armor, ready for battle!
Recommended Products


HV6 Rotary Table, Steel Dividing Plates Set & Tailstock with Free Manual-Milling Indexing Kit
![[GG] MT3 CNC High Speed Live Center ; Extended 30° Type (3BNL30:013003)](https://m.media-amazon.com/images/I/41JS1aVEFpL._SL500_.jpg)
MT3 size with extended 30° point (heat treatment hardness of shaft HRc 60±2)
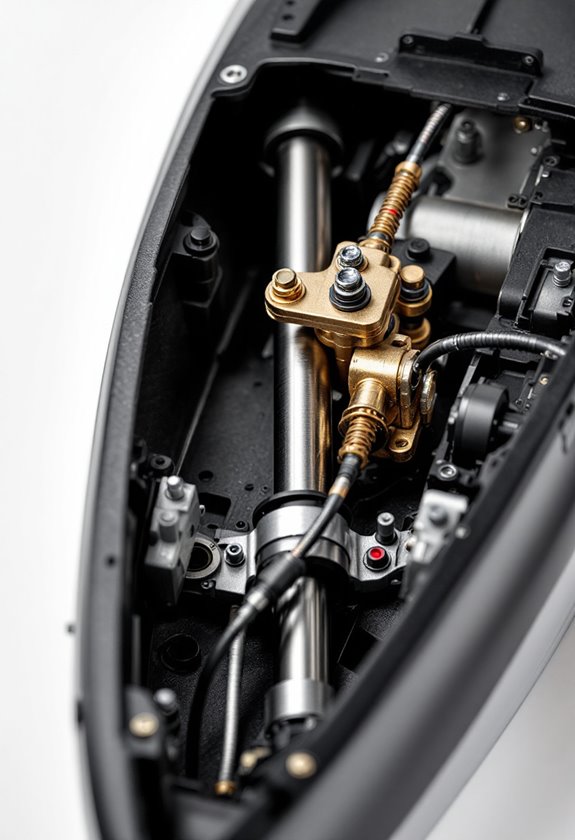
Installing Shafts and Couplers
When it comes to installing shafts and couplers, precision and care are paramount to guarantee a seamless operation. Begin by ensuring proper coupling selection and checking shafts for any damage. A clean workspace is essential; use degreasers to eliminate any residue and measure with calipers for accuracy.
- Apply lubricating oil to ease friction.
- Install keys in the shaft keyways firmly.
- Align coupling halves with utmost precision—sliding them onto the shafts without force.
For tricky fits, consider using temperature differential techniques.
Finally, use a calibrated torque wrench to tighten all fasteners gradually, maintaining even stress. This meticulous attention transforms a tedious task into a smooth, efficient endeavor; after all, who doesn’t appreciate a job well done?
Recommended Products

Electronic Stall Detection throughout Entire Rotation Range — extends the life of the actuator by deactivating the actuator motor when an overload condition is detected

Larger Stronger Alignment Pins

Compatible with OEM Part Numbers Yamaha 3HN-46101-10-00
Verifying Alignment and Seating
Verifying alignment and seating may seem like a formidable task, but it is essential for guaranteeing peak performance and longevity of machinery. Misalignment consequences, such as increased wear and energy inefficiency, highlight the necessity of this process.
Methods for Verification:
- Employ laser alignment systems for precise measurements.
- Utilize feeler gauges and dial indicators to assess angular and offset misalignments.
Seating Verification:
- Ascertain consistent contact with minimal gaps between coupling halves, adjusting as necessary.
- Run a gentle test using lift oil to identify imperfections.
Ultimately, proper alignment and thorough seating verification create a solid foundation—just like building a house. A little effort here can save costly repairs down the road, transforming potential headaches into smooth, efficient operations.
Best Practices for Maintenance
Best practices for maintenance are crucial for ensuring the efficiency and longevity of machinery components like shafts and couplers. Adopting proper coupling lubrication techniques is necessary; one must periodically flush and change lubricants to alleviate wear caused by contaminants.
Installation Practices
- Avoid forcing couplings onto shafts to prevent damage.
- Use designated torque values on fasteners—too tight or too loose can spell disaster!
- Regularly inspect elastomer components for wear or cracks—if they exceed limits, replace them immediately.
Training should focus on treating couplings as precise machinery rather than simple parts. Small misalignments can lead to significant issues. By following these guidelines, maintenance personnel can save time, money, and a few headaches!
Frequently Asked Questions
What Are Common Signs Indicating a Need for Shaft Replacement?
Shafts, like the bones of a vehicle, display clear signs of distress. Common indicators for replacement include vibration issues, worn bearings, unusual noises, and handling difficulties, all signaling that the integrity of the drivetrain is compromised.
How Do I Determine the Correct Size of a Coupler?
To determine the correct coupler size, one must consider coupler types suited to specific applications, measure shaft materials and dimensions accurately, and guarantee compatibility with torque requirements and misalignment tolerances for peak performance.
Can I Mix Different Brands of Metal Repair Epoxy?
Mixing different brands of metal repair epoxy is possible, but epoxy compatibility and brand differences complicate effective curing. Testing small batches guarantees reliable bonding strength, while adhering to manufacturer guidelines is essential for best results.
What Is the Lifespan of a Typical Shaft and Coupler Assembly?
The lifespan of a typical shaft and coupler assembly varies greatly, influenced by shaft material, coupler types, and operating conditions, ranging from several years to potentially indefinite under ideal circumstances without excessive misalignment or overloads.
How Often Should Shafts and Couplers Be Inspected?
Shafts and couplers require regular inspections to guarantee peak performance. Maintenance schedules suggest inspections every month for general wear and tear, with specific frequencies varying based on coupling type, highlighting the importance of consistent inspection frequency for reliability.


